
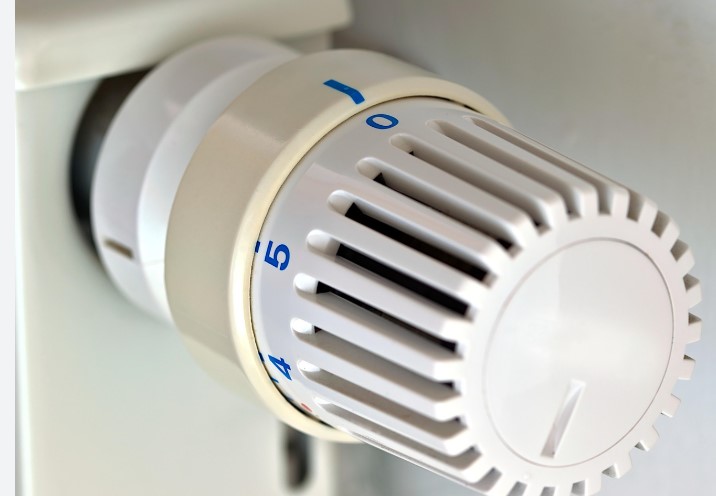
Installing a digital thermostat with just two wires is a relatively straightforward project that can greatly enhance the energy efficiency of your heating or cooling system. Digital thermostats are more precise, energy-efficient, and easy to operate compared to traditional analog thermostats. In this article, we’ll guide you step-by-step through the process of installing a digital thermostat with two wires, ensuring a smooth and successful installation. Whether you’re replacing an old thermostat or installing a new one, this guide will cover everything you need to know.
Why Install a Digital Thermostat?
Before diving into the installation steps, let’s understand the benefits of switching to a digital thermostat:
- Precise Temperature Control: Digital thermostats allow for more accurate temperature adjustments than their analog counterparts, leading to a more comfortable home environment.
- Energy Savings: With features like programmable schedules, you can optimize heating and cooling times to save on energy costs.
- Easy-to-Read Display: The digital display is clear and easy to read, making it more user-friendly for everyone in the household.
- Improved Efficiency: Digital thermostats often come with advanced features, like smart temperature control, that automatically adjust based on your daily routines.
What You’ll Need
Before you begin the installation process, gather the following tools and materials:
- Screwdriver (Flathead and Phillips)
- Voltage Tester (to ensure no power is flowing before you work)
- Wire Labels (optional but helpful for easy identification of wires)
- Drill (Optional) for mounting the thermostat
- New Digital Thermostat (Ensure it is compatible with your HVAC system and requires only 2 wires)
Pre-Installation Considerations
Before beginning the installation, it’s important to assess your current thermostat setup. If you are replacing an existing thermostat, follow these considerations:
- Check Compatibility: Ensure the digital thermostat you purchase is compatible with your heating and cooling system (e.g., gas, electric, heat pump, or baseboard heating).
- Turn Off Power: For safety, always switch off the power to your HVAC system at the breaker panel before you begin working with the wiring.
- Check the Wiring: A two-wire thermostat typically works with a basic heating system. You will likely see two wires connected to your existing thermostat: one for heating (often marked as W) and one for power (often marked as R or RH).
Step-by-Step Guide to Installing a Digital Thermostat with 2 Wires
Now that you have everything ready, follow these easy steps to install your digital thermostat:
Step 1: Turn Off the Power to Your HVAC System
This is a crucial first step. Locate your HVAC system’s circuit breaker and turn it off to prevent any electrical accidents during installation.
Step 2: Remove the Old Thermostat
Use a screwdriver to remove the screws securing the existing thermostat to the wall. Once it’s detached, you’ll see the wiring behind it. Use a voltage tester to ensure the wires are not live before proceeding.
Carefully note the current wire connections. Most likely, you will have a red wire (R) that connects to the power supply, and a white wire (W) that connects to the heating system. In some cases, a green wire (G) might be present, but for a two-wire system, you may not have it.
Label the wires (with the provided wire labels or masking tape) to make it easier to reconnect them later.
Step 3: Disconnect the Wires
Once you’ve labeled the wires, use a screwdriver to detach them from the old thermostat. Be sure to keep the wires safe and avoid letting them fall back into the wall.
Step 4: Install the New Digital Thermostat Mounting Plate
Take your new thermostat and align the mounting plate to the wall where your old thermostat was located. If your new thermostat has a different shape or size than the old one, you may need to drill new holes or use an adapter plate to ensure it fits correctly.
Once the mounting plate is secure, you’re ready to wire the new thermostat.
Step 5: Connect the Wires to the New Thermostat
Now, it’s time to connect the two wires to the new thermostat. For a two-wire system, you’ll typically be connecting the red wire (R) to the R terminal and the white wire (W) to the W terminal.
Check your thermostat’s manual for specific wiring instructions, as some models may have slightly different terminals. However, the red wire typically corresponds to the power (R) and the white wire to the heating signal (W).
Be sure to tighten the screws securely to avoid loose connections, which can cause the thermostat to malfunction.
Step 6: Attach the Thermostat Faceplate
Once the wires are connected, attach the thermostat’s faceplate to the mounting plate. This should snap into place easily. Ensure the thermostat is firmly attached to the wall.
Step 7: Restore Power and Test the Thermostat
After the thermostat is installed, go back to your circuit breaker and turn the power back on. The thermostat should power up immediately. Follow the manufacturer’s setup instructions to configure your thermostat.
Set the temperature and test the heating system by adjusting the thermostat. The furnace or heating system should activate and begin heating the space. If everything seems to be working fine, your installation is complete.
Step 8: Program Your Thermostat
Once the system is operational, it’s time to set up your thermostat. Digital thermostats often come with programmable schedules, so you can set the system to adjust based on your daily routine. For example, you can program the thermostat to lower the temperature when you’re not at home and raise it before you return.
Follow the instructions in the thermostat manual to set the time, date, and temperature schedules that fit your needs.
Troubleshooting Common Installation Problems
If your thermostat isn’t working correctly after installation, don’t worry! Here are some common issues and solutions:
- Thermostat Not Turning On: Ensure that the power is back on at the breaker, and the wires are securely connected to the terminals.
- Heating System Not Responding: Double-check the wiring connections. If you have a multi-stage system, make sure the thermostat is compatible with it.
- Display Issues: If the digital display is not visible or flickering, check the battery (if it’s battery-operated) or verify that the wiring is correct.
Frequently Asked Questions (FAQ)
1. Can I install a digital thermostat with only two wires? Yes, many basic heating systems use just two wires, usually a red wire (R) and a white wire (W), which can be connected to a simple digital thermostat. Just make sure the thermostat is compatible with your system.
2. Will I need a professional to install a digital thermostat with two wires? Installing a digital thermostat with two wires is a relatively easy DIY project for most homeowners. However, if you are unsure about the wiring or uncomfortable with electrical work, it may be best to consult an HVAC professional.
3. What if my thermostat has more than two wires? If your system has more than two wires, it likely indicates a more complex setup, such as a cooling system or a multi-stage heating system. In this case, you may need a more advanced thermostat or professional assistance.
4. How do I know which wire goes where on the new thermostat? Thermostat wiring is typically color-coded: Red (R) for power, White (W) for heating, and Green (G) for the fan. Always refer to the thermostat’s installation manual for specific instructions, especially if there are multiple terminals.
5. Can a digital thermostat work with an old heating system? Yes, as long as your heating system only requires two wires, a digital thermostat should work. For more complex systems (e.g., multi-stage heating or cooling), make sure the thermostat you choose is compatible with your setup.
Conclusion
Installing a digital thermostat with just two wires is a simple and effective way to improve your home’s heating efficiency. By following these easy steps, you can install the thermostat yourself and start enjoying the benefits of precise temperature control, energy savings, and a more comfortable living space. Always remember to double-check your wiring, follow the manufacturer’s guidelines, and test the system after installation. With the right setup, your new digital thermostat will be up and running in no time, helping you save money on energy bills and increase your home’s overall efficiency.