
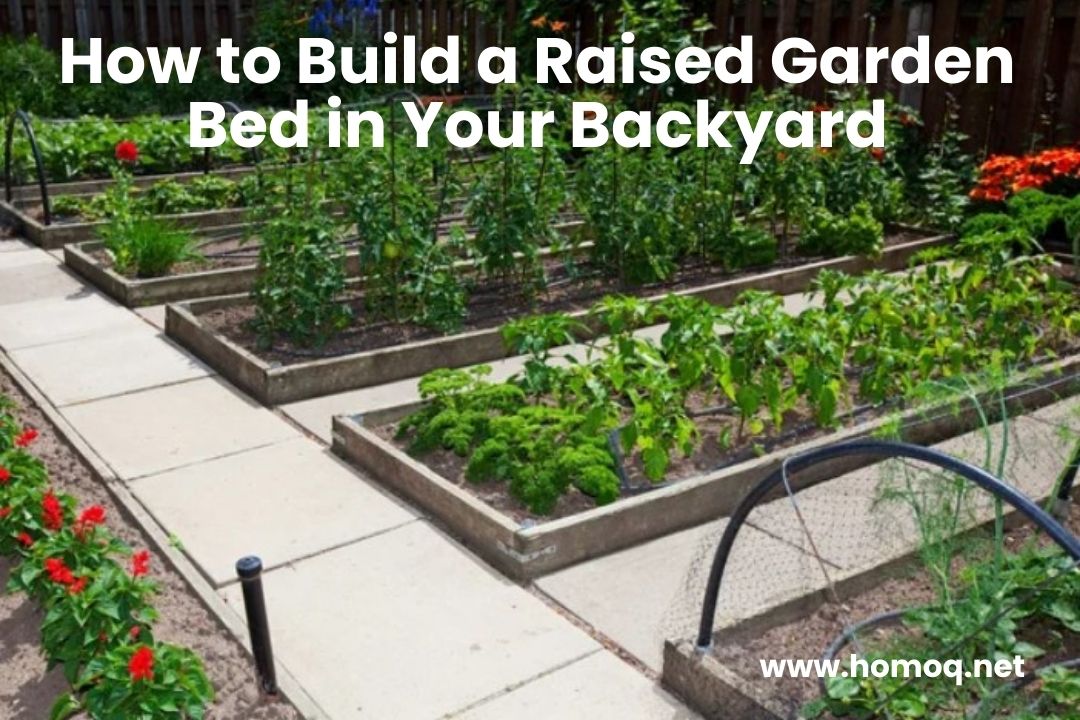
Building a raised garden bed is a rewarding project that offers numerous benefits, including better drainage, easier access, and improved soil quality. Whether you are an experienced or a beginner, a raised garden bed can transform your backyard into a productive space for growing vegetables, herbs, or flowers. In this guide, we’ll walk through how to build a raised garden bed step by step, ensuring your project is simple and effective.
Why Choose a Raised Garden Bed?
Raised garden beds offer several advantages over traditional in-ground gardening. Here are some key benefits:
- Improved Drainage: Raised beds prevent waterlogging, ensuring your plants don’t suffer. Soil Quality: You have control over the soil mix, leading to healthier plants.
- Reduced Soil Compaction: Easier for plants to grow without struggling through compacted ground.
- Less Weeding: The elevated soil makes it harder for weeds to invade.
- Accessibility: Raised beds make gardening easier on your back and knees, especially for people with mobility issues.
Materials Needed for a Raised Garden Bed
Before you begin building your raised garden bed, gather the following materials:
- Wood (Cedar, Redwood, or Pressure-Treated Lumber): Cedar and redwood are naturally resistant to decay, but pressure-treated wood is also an option if you want a budget-friendly choice.
- Screws or Nails: To assemble the wood pieces.
- Power Drill or Hammer: To fasten the wood together.
- Landscape Fabric (Optional): To line the bottom of the bed and prevent weeds.
- Soil and Compost: To fill the bed. A good mix includes organic compost, topsoil, and well-rotted manure.
- Measuring Tape: For accurate dimensions.
- Level: To ensure your garden bed is level.
Step-by-Step Guide to Building Your Raised Garden Bed
Step 1: Choose the Right Location
Selecting the correct location for your raised garden bed is crucial for success. Consider the following factors:
- Sunlight: Most plants require 6–8 hours of sunlight per day. Choose a sunny spot in your backyard.
- Accessibility: Make sure the bed is easy to access from all sides.
- Drainage: Ensure the spot has good drainage. Avoid low-lying areas where water may accumulate.
Step 2: Measure and Plan Your Bed Size
Decide how large you want your raised garden bed to be. A standard size is 4 feet wide by 8 feet long, allowing you to reach the middle of the bed from both sides. The height can vary from 6 to 24 inches, depending on the plants you intend to grow and your budget.
- Tip: Wider beds make planting and harvesting easier, but ensure they are manageable in size for your needs.
Step 3: Cut and Assemble the Wood
- Cut the Wood: Cut your wooden planks to the desired lengths using your measuring tape. If you’re 4-foot-long boards, you’ll have four for the length and two for the width.
- Assemble the Bed: Lay the boards flat, and use a power drill or hammer to fasten the boards at the corners using screws or nails. For added stability, you can use corner brackets.
Step 4: Prepare the Ground
Once the bed frame is assembled, it’s time to prepare the ground.
- Clear the Area: Remove any grass, weeds, or debris from where the bed will sit.
- Level the Ground: Ensure the ground is level to avoid uneven watering. Use a level tool to check.
- Lay Landscape Fabric (Optional): For extra protection against weeds, line the bottom of the bed with landscape fabric. This will also prevent pests from burrowing into the soil.
Step 5: Fill the Raised Bed with Soil
Now it’s time to fill your bed with soil. Use a mix of compost, topsoil, and well-rotted manure for optimal plant growth. Fill the bed to about an inch below the top of the frame to allow space for watering.
- Soil Tip: A high-quality, nutrient-rich soil mix is key for growing vegetables. You can adjust the mix for flowers or ornamental plants according to their needs.
Step 6: Plant Your Garden
- Plant Your Seeds or Plants: Once your soil is in place, you can plant your seeds or small plants. Follow planting instructions regarding spacing and depth for the specific plants you’re growing.
- Watering: Water your plants immediately after planting. Raised garden beds may dry out faster than in-ground beds, so regular watering is essential.
Maintenance Tips for Your Raised Garden Bed
- Watering: Raised beds often dry out quicker, so monitor soil moisture. Water deeply and consistently, especially in dry weather.
- Mulching: Apply a layer of mulch to help retain moisture and reduce the growth of weeds.
- Fertilising: Depending on the plants, you may need to add organic fertilisers to keep the soil nutrient-rich.
- Replenishing Soil: Over time, the soil in your raised garden bed may settle or lose nutrients. Add fresh compost or soil at the beginning of each growing season.
Frequently Asked Questions (FAQS)
- How deep should a raised garden bed be?
A raised garden bed should be 6 to 12 inches deep, though some plants may require deeper beds. A 12–18-inch depth is ideal for vegetables to accommodate root growth.
- What is the best wood for building a raised garden bed?
Cedar and redwood are excellent choices for their natural resistance to decay. Pressure-treated lumber is also affordable, but it may need to be carefully selected to avoid chemicals that could harm plants.
- Can I build a raised garden bed without drilling?
Yes! You can use corner brackets or interlocking pieces that don’t require drilling. Kits are also available to assemble a raised garden bed quickly.
- How much does it cost to build a raised garden bed?
The cost of building a raised garden bed can vary depending on the materials you choose, but it typically ranges from $100 to $300. Using recycled materials or buying in bulk can help reduce costs.
- How often should I replace the soil in my raised garden bed?
Refreshing the soil in your raised garden bed every 2-3 years ensures your plants can access the necessary nutrients.
Conclusion
Building a raised garden bed is a fantastic way to enhance your backyard while growing your produce or beautiful flowers. With just a few materials, planning, and effort, you can create a raised bed that will provide long-term benefits. Happy gardening!